 Canning is communal. I love to make jelly and jams and pickles and juices but it’s much more fun to do it with friends. Last summer, several friends came out each week to the homestead. We worked in the garden and picked blackberries out of my patch. My friend, Denise, was back in Alabama in her grandmother’s patch and she was delighted to be reliving that happy memory. It’s a good example of how the simplest things we do with our children become that lasting memory.
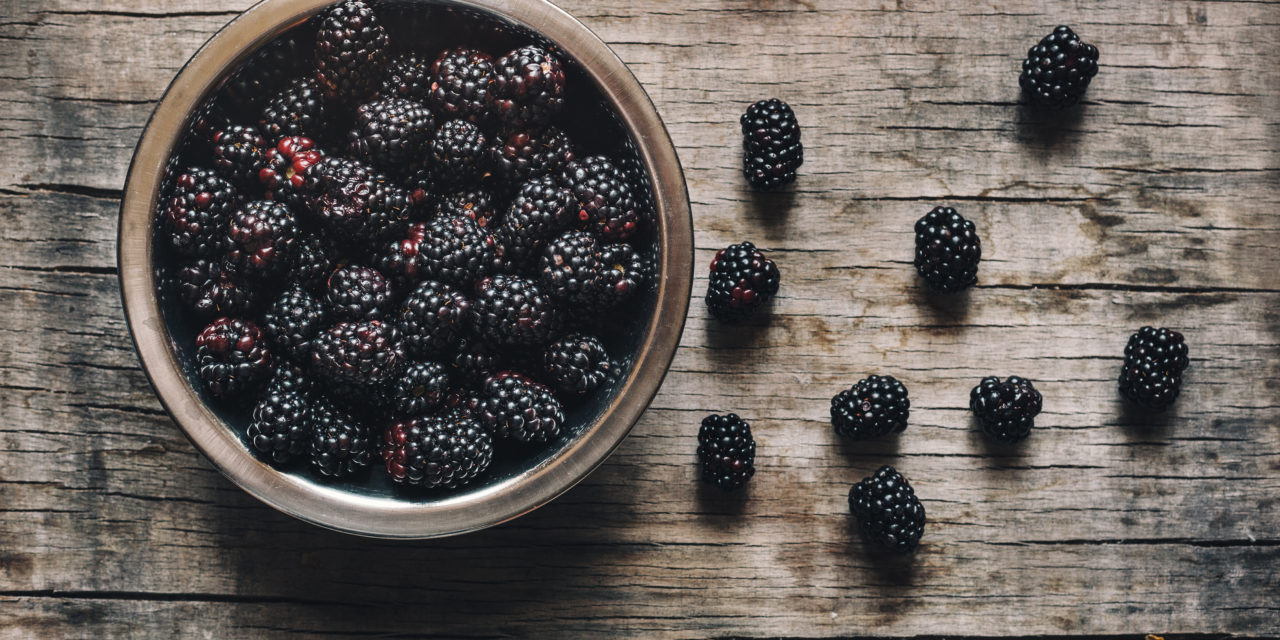
Today I am doing the first step in the jelly making process. I have picked the blackberries from my small patch of thorn-less canes. After I wash the berries and sort to make sure there are no bugs or leaves, I pour them into a non-reactive metal pot. What is a non-reactive pot? It’s one that will not react with the acids in the fruit or vegetable we are working with causing a modification to the recipe. Stainless steel or enamel is recommended. Don’t use a thin pot that might burn easily.
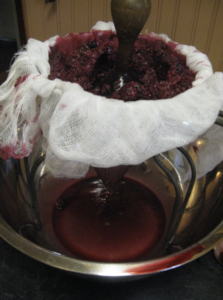
I heat the berries until they are thoroughly cooked. Then I prepare the old-fashioned food mill to strain the berry pulp from the juice we need for jelly making. You can also use a jelly bag.
 I like to use cheesecloth to line the mill but it is not necessary if you don’t mind a little pulp. The idea here is to not use the plunger to force the juice out of every last berry as that will cause our jelly to be cloudy so please resist the temptation. I have used the plunger after I have collected the juice and the amount of juice you lose by allowing it to gravity drip is minimal.
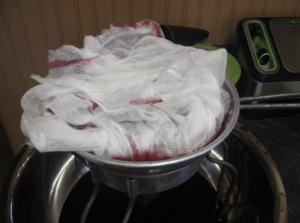
I usually load the food mill as the last task of the evening and allow it to gravity drip all night.
I carefully remove the mill and pour off the juice. I measure 4 cups as that is the standard amount needed for one batch of jelly. I mark the contents and the date and freeze it until I have time this winter to make the jelly. Relax! You are amazing! Annie May


Love the way Annie tells a story while she teaches us.